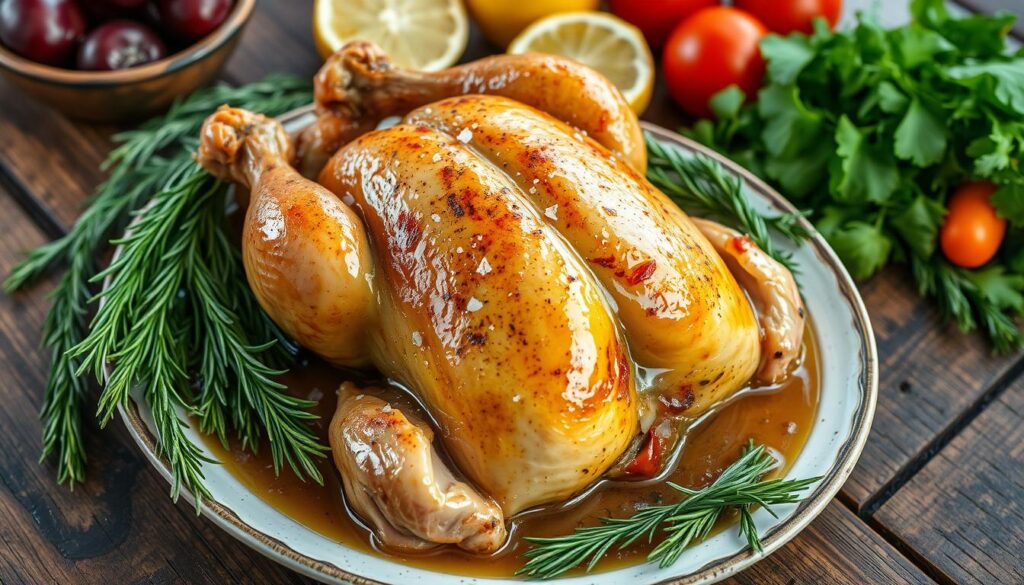
As a busy home cook, achieving juicy chicken can be tough. But, there’s a simple trick that can make your chicken dishes amazing. It’s called chicken brine, and it’s a game-changer.
My grandmother used to brine her Thanksgiving turkey. The results were always moist and flavorful. It was a game-changer for me, and I’ve perfected a simple chicken brine recipe.
Key Takeaways
- A simple chicken brine using water, kosher salt, soy sauce, sugar, and olive oil can transform your chicken into a juicy, flavorful masterpiece.
- Brining your chicken for the recommended time (2 hours for skinless breasts, 4 hours for bone-in pieces, and 4 hours to overnight for whole chickens) enhances moisture, tenderness, and flavor.
- The higher salt content in this brine recipe works more effectively and quickly than traditional brines.
- Brining is a game-changer for ensuring your chicken stays juicy and tender, even when cooked.
- This brine recipe is versatile and can be customized with additional ingredients like herbs, spices, and aromatics to suit your taste preferences.
Understanding the Science Behind Chicken Brining
Brining is a simple yet transformative process that can elevate your chicken to new heights of juiciness and flavor. But have you ever wondered what makes this kitchen technique so effective? Let’s dive into the science behind brining chicken and uncover the remarkable changes it can bring to your meat.
How Salt Water Transforms Your Meat
Brining involves submerging chicken in a salt water solution. This may seem like a simple step, but the effects it has on the meat are quite remarkable. The salt in the brine helps to denature the proteins in the chicken, causing them to unravel and become more porous.
This helps the meat to take in more moisture and flavor. As a result, the final product is more tender, flavorful, and juicy.
The Role of Osmosis in Brining
The science of osmosis also plays a crucial role in the brining process. As the salt water solution surrounds the chicken, the natural tendency is for the water to move from the area of high concentration (the brine) to the area of low concentration (the chicken). This influx of moisture helps to plump up the muscle fibers.
Preventing them from contracting and becoming tough during cooking.
Benefits of Brined vs Unbrined Chicken
- Increased moisture and juiciness
- Enhanced flavor penetration throughout the meat
- Improved texture and tenderness
- Greater tolerance for overcooking without drying out
Grasping the science of brining enables you to maximize the flavor and juiciness of your chicken. Enjoy a truly remarkable dining experience. Whether you’re roasting, grilling, or baking, brined chicken is sure to impress.
“Brining is the key to achieving consistently juicy and flavorful chicken.”
Essential Ingredients for the Perfect Brine Recipe
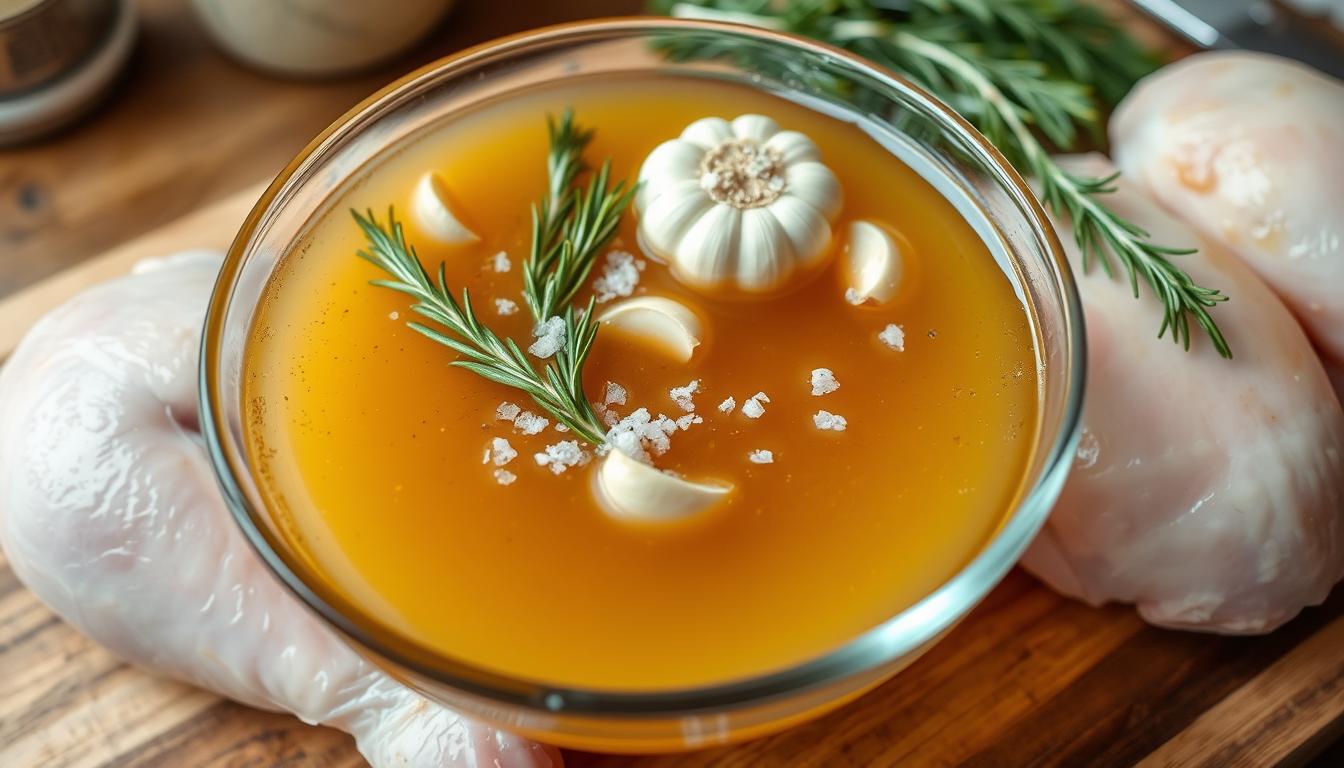
Creating the ideal brine for chicken is easier than you might expect. You’ll need water, kosher salt, and maybe some soy sauce, sugar, and olive oil. For extra flavor, add fresh herbs like rosemary, thyme, or parsley. Garlic cloves, peppercorns, bay leaves, lemon slices, onions, carrots, or sweeteners like brown sugar or honey can also be used.
The salt-to-water ratio is crucial for a good brine. Add 2 tablespoons of salt per liter of water to achieve a 3% salt solution. This helps the chicken soak up moisture and season from the inside.
- Water
- Kosher salt
- Soy sauce (optional)
- Sugar (optional)
- Olive oil (optional)
- Fresh herbs (rosemary, thyme, parsley)
- Garlic cloves
- Peppercorns
- Bay leaves
- Lemon slices
- Onions
- Carrots
- Brown sugar or honey (optional)
Try different ingredients and ratios to make a brine recipe that fits your taste. The variety of options lets you create a delicious, juicy brined chicken dish.
Step-by-Step Brining Process
Getting your chicken brine just right is key to juicy, tasty results. Start by mixing kosher salt with warm water. For each cup of water, include about 1 tablespoon of salt. After the salt dissolves, add your favorite herbs, spices, or citrus for extra flavor.
Preparing Your Brining Solution
First, warm some water on the stovetop until it’s just simmering. This makes the salt dissolve better. Once dissolved, take the pot off the heat and let it cool down to room temperature. If it’s too slow, try cooling it in an ice bath.
Proper Container Selection
Choose a container that’s safe for food, like stainless steel or a brining bag. Stay away from metal that can react with the brine. Put the cooled brine in your container and fully cover your brine chicken or simple chicken brine.
Temperature Control Tips
Keeping the right temperature is important. For short brines (30 minutes to 2 hours), keep the chicken at room temperature. But for longer brines (4 to 12 hours), refrigerate it to keep it safe and prevent bacteria growth.
By following these steps, you’ll get deliciously juicy and flavorful brine chicken or simple chicken brine every time. The secret is finding the perfect mix of salt, water, and time to make your chicken a true culinary delight.
Optimal Brining Times for Different Cuts
Brining chicken times vary by cut. This is key for juicy, flavorful results.
Boneless, skinless brine chicken breasts need 30-60 minutes at room temperature. Or 1-2 hours in the fridge. This short time lets the meat soak up just the right seasoning.
- Bone-in chicken pieces or a whole brined chicken need 2-3 hours at room temperature. Or 4-6 hours in the fridge.
- Don’t brine too long. It may cause the meat to become overly salty.
The best brining time for most chicken is 30 minutes to one hour. This makes the meat juicy and flavorful without being too salty.
“Brining meat can increase moisture retention and flavor amplification due to the denaturing of meat proteins by salt.”
Knowing the right brining times for chicken cuts ensures your brine chicken dishes are always perfect.
Common Brining Mistakes to Avoid
When you’re brine chicken or making a simple chicken brine, it’s important to avoid common mistakes. These mistakes can ruin the taste and texture of your dish. Let’s examine the key mistakes to avoid:
Oversalting Issues
One big mistake is using too much salt. Too much salt makes the chicken taste bad. Pay attention to how much salt you add and what kind of salt you use. Different salts can make your dish taste different.
Temperature Control Problems
Keeping the right temperature while brining is key. The brine should stay cold, between 35-40°F. If it gets too warm, it can be unsafe to eat.
Container Selection Errors
The container you use can also affect your brine. Don’t use aluminum or copper because they can change the brine’s taste. Use containers made of plastic, glass, or stainless steel instead.
Success in brine chicken or simple chicken brine comes from paying attention to the details. By avoiding these mistakes, you’ll make sure your chicken is always juicy and full of flavor.
Flavor Variations and Add-ins
Make your simple chicken brine recipe more exciting by trying different flavors. You can add aromatic ingredients to your brine. These will give your chicken amazing and complex tastes.
Begin by adding sliced onions, crushed garlic, and fresh herbs like rosemary, thyme, or sage. Bay leaves and whole peppercorns add depth and warmth. For a citrus twist, include lemon, orange, or lime slices.
Be bold and blend onions, garlic, and herbs in a food processor. This makes a strong brine base. Then, mix it with your salt-water solution.
There are countless ways to mix up your brine. Try different combinations to match your dish. Whether you’re roasting, grilling, or sautéing, these add-ins will make your meal better.
| Brine Variation | Ingredients |
|---|---|
| Citrus Herb Brine | Oranges, lemons, garlic, rosemary, thyme |
| Spicy Buttermilk Brine | Hot sauce, red pepper flakes, garlic |
| Apple Cider Brine | Apple cider, brown sugar, bay leaves, cinnamon stick, cloves |
The secret to a great brine is finding the right mix of salt, water, and flavors. Adjust the ingredients to fit your taste and the dish you’re making. With some trial and error, you’ll make a brine that makes your chicken incredibly juicy and flavorful.

Storage and Food Safety Guidelines
When brining chicken, it’s important to follow storage and food safety rules. This keeps the meat fresh and safe from harmful bacteria. If brining takes more than 30 minutes, you must refrigerate it to stop bacteria from growing.
Safe Brining Temperatures
The brine solution and chicken should stay between 35°F (2°C) and 40°F (4°C) while brining. This stops harmful bacteria like Salmonella and Listeria from growing. Once brining is complete, pat the chicken dry without rinsing it. Rinsing can spread bacteria.
Maximum Storage Duration
Brined chicken can stay in the fridge for up to 3 days. To store it longer, keep it in the freezer for up to 2 months. When you’re ready to cook, use the frozen chicken within 6 months for the best taste and safety.
- Refrigerate brined chicken for up to 3 days
- Freeze brined chicken for up to 2 months
- Use frozen brined chicken within 6 months for optimal quality
By following these storage tips, your brine chicken and brined chicken will stay fresh, safe, and tasty. Proper handling and keeping the right temperature are crucial for great brining results.
Cooking Methods for Brined Chicken
Brining chicken before cooking can make even the driest cuts tender and juicy. So, how can you achieve the best results ? The secret is in the cooking method. Let’s look at the best ways to cook your perfectly brined poultry.
To get a crispy skin, dry the brined chicken in the fridge for 30 minutes to an hour before cooking. This step helps the skin brown and crisp up. Then, you can bake, grill, or roast it to perfection.
When baking brined chicken, don’t add extra salt. Instead, season the skin with herbs, spices, or a light oil coating. Bake at 400°F (200°C) until it reaches 165°F (75°C), usually 30-40 minutes for bone-in pieces.
- For grilled brined chicken, keep the heat moderate to avoid burning the outside before the inside is cooked. Grill for 25-35 minutes, turning occasionally, until the juices run clear.
- Roasting is another great choice for brine chicken. Put the chicken in a preheated 425°F (220°C) oven and roast for 45-60 minutes, basting occasionally. This will make the skin golden brown and the inside 165°F (75°C).
| Cooking Method | Time | Temperature |
|---|---|---|
| Baking | 30-40 minutes | 400°F (200°C) |
| Grilling | 25-35 minutes | Moderate heat |
| Roasting | 45-60 minutes | 425°F (220°C) |
Remember, brined chicken cooks more evenly and stays juicy even if slightly overcooked. So, don’t be afraid to try different cooking methods to find your favorite way to prepare brined chicken.

Conclusion
Brining is an easy yet powerful technique to enhance your chicken dishes. It adds flavor, tenderness, and juiciness. By understanding the science and following the right steps, you can make delicious chicken that everyone will enjoy.
Try different brine recipes, cooking methods, and flavors to find your favorite. Pay attention to the ingredients, timing, and technique. This way, your brined chicken will be moist, tender, and full of flavor. With practice, you’ll get better at making simple chicken brine and improve your cooking.
Brining is all about being creative. Customize your brine recipe, try new cooking techniques, and explore different flavors. Trust the process and let your creativity shine. Enjoy the amazing results of your juicy and flavorful brined chicken creations.

